Whether you are looking for an everyday low-maintenance manicure, structural nail health restoration, or high-concept 3D editorial sets, understanding the systems, nail shapes, and art techniques is key to getting durable, salon-grade results.
See one ad and download free designs .

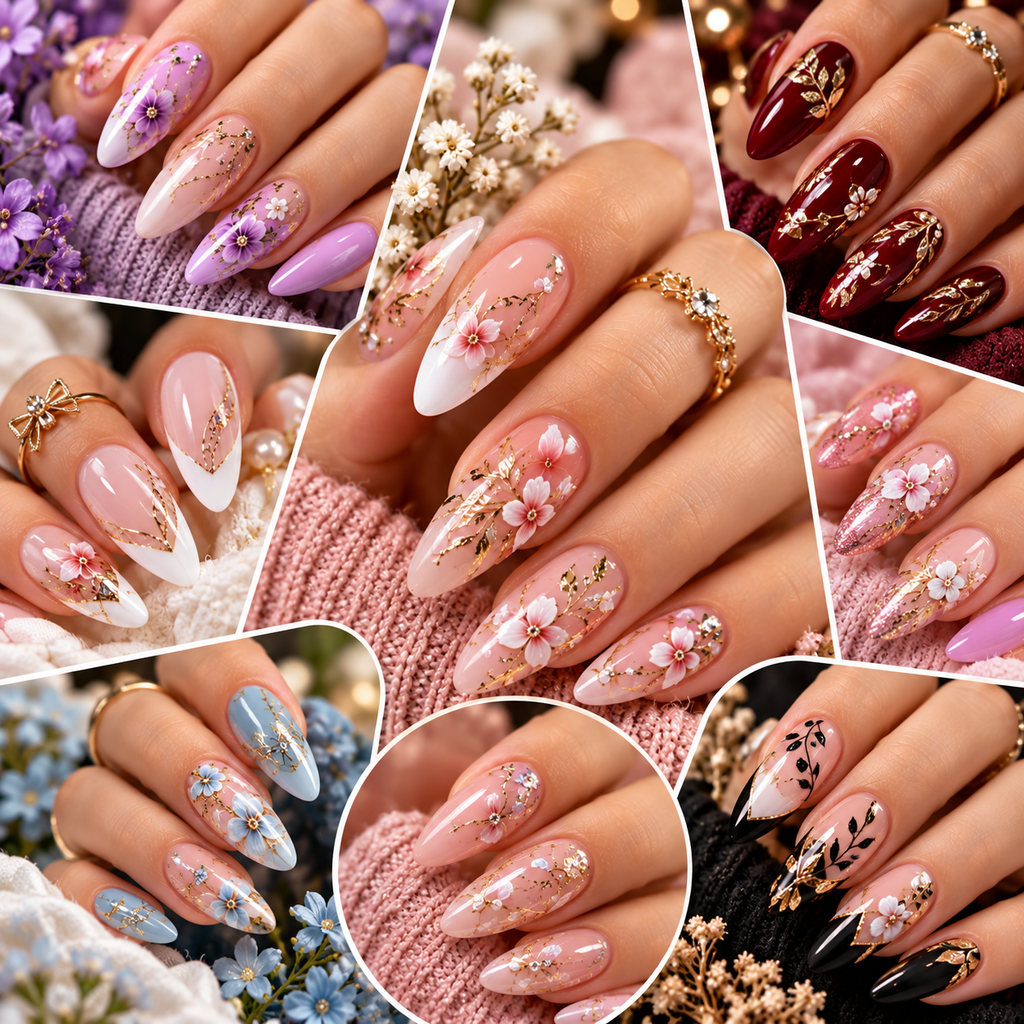
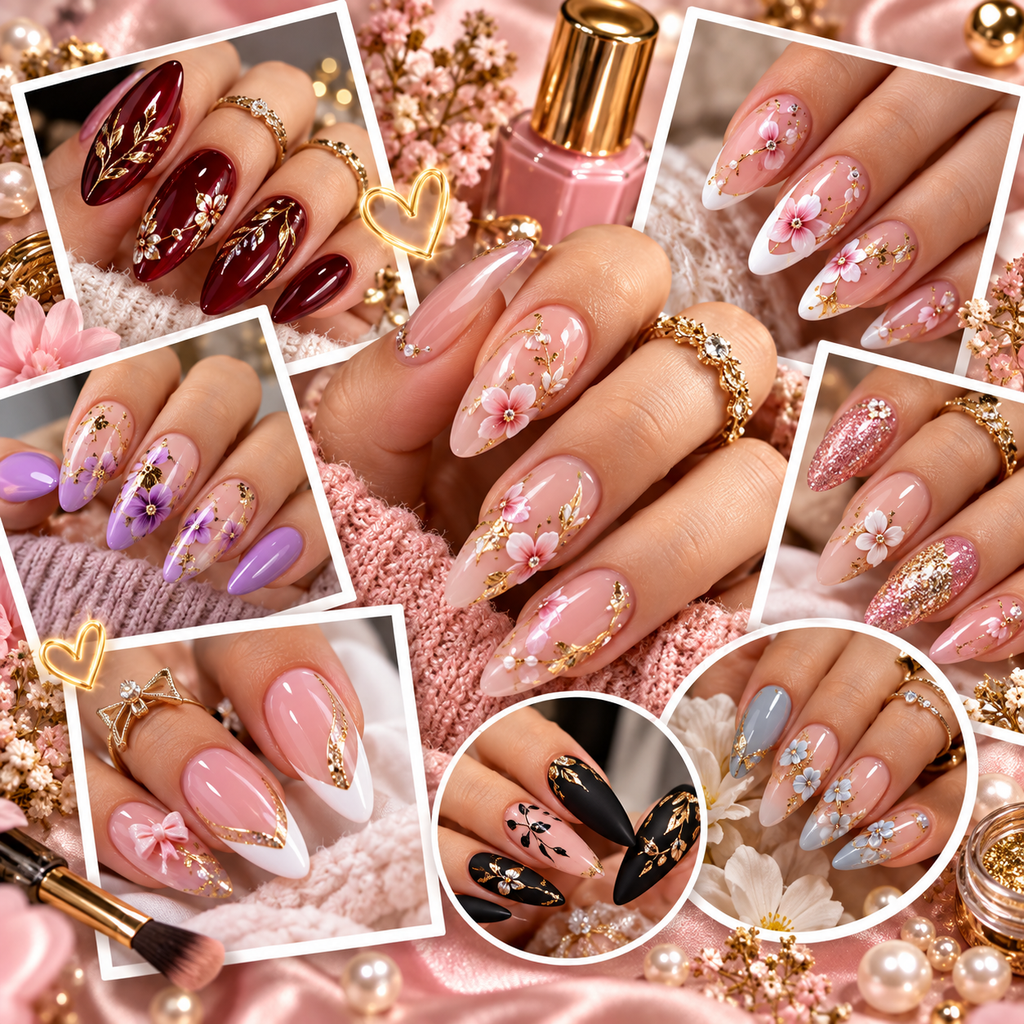
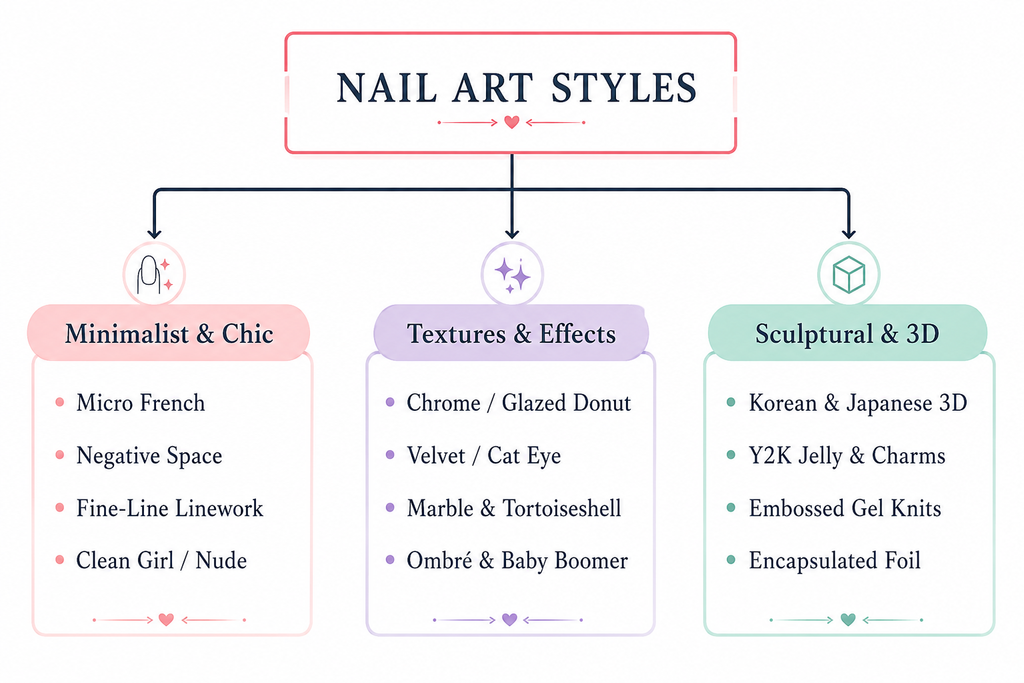
Discover the world of Nail Art Styles through three exciting categories: Minimalist & Chic, featuring elegant and simple designs; Textures & Effects, showcasing eye-catching finishes like chrome, velvet, marble, and ombré; and Sculptural & 3D, offering creative designs with charms, embossed details, and artistic elements. Whether you prefer a clean and subtle look or a bold and dramatic statement, these styles provide endless inspiration for expressing your personality through beautiful nail designs.
1. Major Nail Art & Design Categories
Impact of Nail Art on Personality
Nail art is more than just a beauty trend—it can be a creative way to express personality, mood, and individual style. The colors, patterns, and designs a person chooses can help communicate their unique preferences and create a stronger sense of personal confidence.
- Self-Expression: Nail art allows people to showcase their creativity and personal style.
- Confidence Boost: Beautiful and well-maintained nails can help a person feel more confident and polished.
- Creativity: Unique colors, patterns, and designs encourage artistic expression.
- Mood Reflection: Bright, bold, elegant, or simple designs can reflect a person’s current mood and emotions.
- Personal Identity: Signature nail styles can become part of someone’s individual fashion identity.
- Attention to Detail: Well-designed nails can create an impression of good grooming and attention to appearance.
- Conversation Starter: Creative nail designs can attract attention and help start conversations.
- Fashion Enhancement: Nail art can complement outfits, accessories, and overall personal style.
- Empowerment: Choosing a design that makes someone feel beautiful can promote a positive sense of self.
- Individuality: With endless design possibilities, nail art helps people stand out and celebrate their uniqueness.
Explore our collection of 50 beautiful and trending nail art styles, carefully organized into different categories to help you discover the perfect design for every occasion and personal style. From elegant Minimalist & Chic designs and eye-catching Textures & Effects to creative 3D, artistic, patterned, and nature-inspired nails, this table provides a wide range of ideas and inspiration. Click the link beside each style to explore examples and discover more about your favorite nail art designs.
| # | Nail Art Style | Category | Link |
|---|---|---|---|
| 1 | Classic French Tips | Minimalist | View Style |
| 2 | Micro French | Minimalist | View Style |
| 3 | Reverse French | Minimalist | View Style |
| 4 | Colored French Tips | Minimalist | View Style |
| 5 | Negative Space Nails | Minimalist | View Style |
| 6 | Fine-Line Nail Art | Minimalist | View Style |
| 7 | Nude Nails | Minimalist | View Style |
| 8 | Clean Girl Nails | Minimalist | View Style |
| 9 | Minimalist Dots | Minimalist | View Style |
| 10 | Single Accent Nails | Minimalist | View Style |
| 11 | Chrome Nails | Textures & Effects | View Style |
| 12 | Glazed Donut Nails | Textures & Effects | View Style |
| 13 | Cat Eye Nails | Textures & Effects | View Style |
| 14 | Velvet Nails | Textures & Effects | View Style |
| 15 | Aura Nails | Textures & Effects | View Style |
| 16 | Ombre Nails | Textures & Effects | View Style |
| 17 | Baby Boomer Nails | Textures & Effects | View Style |
| 18 | Marble Nails | Textures & Effects | View Style |
| 19 | Tortoiseshell Nails | Textures & Effects | View Style |
| 20 | Jelly Nails | Textures & Effects | View Style |
| 21 | Holographic Nails | Effects | View Style |
| 22 | Metallic Nails | Effects | View Style |
| 23 | Matte Nails | Effects | View Style |
| 24 | Glitter Nails | Effects | View Style |
| 25 | Foil Nails | Effects | View Style |
| 26 | Korean 3D Nails | Sculptural & 3D | View Style |
| 27 | Japanese 3D Nails | Sculptural & 3D | View Style |
| 28 | Y2K Jelly & Charms | Sculptural & 3D | View Style |
| 29 | 3D Gel Sculptures | Sculptural & 3D | View Style |
| 30 | Encapsulated Nails | Sculptural & 3D | View Style |
| 31 | Rhinestone Nails | Embellished | View Style |
| 32 | Pearl Nails | Embellished | View Style |
| 33 | Bow Nails | Embellished | View Style |
| 34 | Charm Nails | Embellished | View Style |
| 35 | Embossed Gel Nails | Sculptural & 3D | View Style |
| 36 | Abstract Nails | Artistic | View Style |
| 37 | Geometric Nails | Artistic | View Style |
| 38 | Swirl Nails | Artistic | View Style |
| 39 | Color Block Nails | Artistic | View Style |
| 40 | Watercolor Nails | Artistic | View Style |
| 41 | Floral Nails | Nature Inspired | View Style |
| 42 | Butterfly Nails | Nature Inspired | View Style |
| 43 | Cherry Nails | Nature Inspired | View Style |
| 44 | Animal Print Nails | Pattern | View Style |
| 45 | Leopard Print Nails | Pattern | View Style |
| 46 | Zebra Print Nails | Pattern | View Style |
| 47 | Cow Print Nails | Pattern | View Style |
| 48 | Checkerboard Nails | Pattern | View Style |
| 49 | Gingham Nails | Pattern | View Style |
| 50 | Celestial Nails | Artistic | View Style |
Minimalist & Clean Aesthetics
- Micro French & Modern French: Thin, precise smile lines placed right along the free edge. Modern variations use rainbow hues, double lines, chrome finishes, or inverted cuticle cuffs.
- Negative Space & Line Art: Bare or sheer-tinted nail beds accented with geometric stripes, abstract waves, dots, or delicate botanical single-stroke lines.
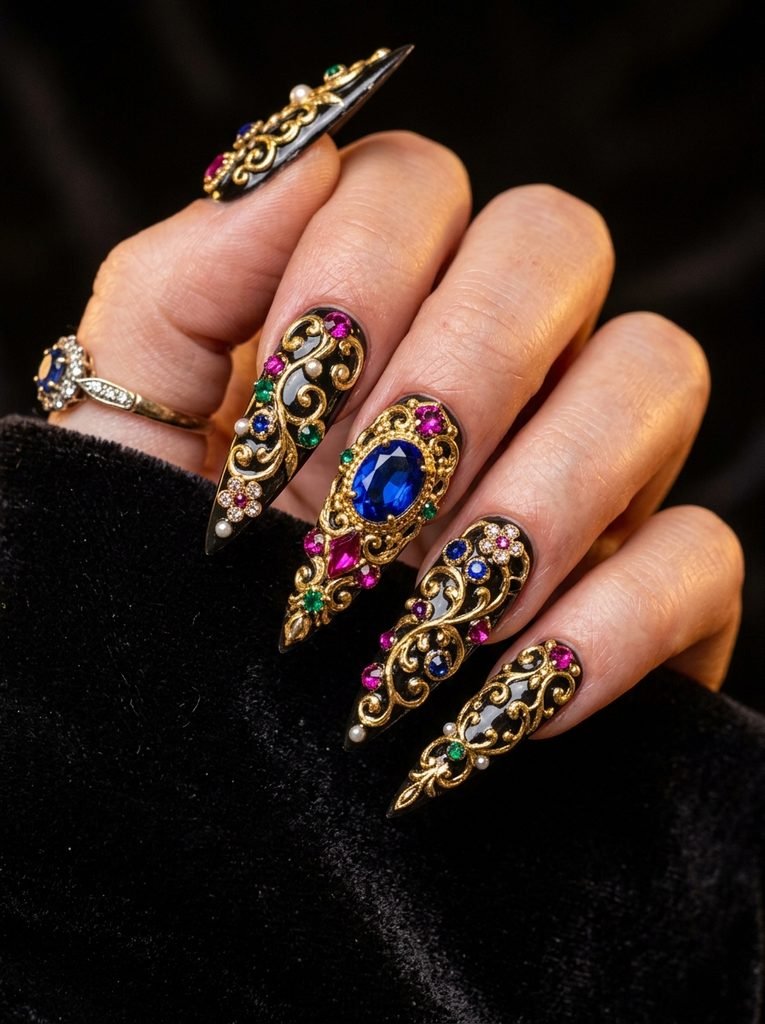
- Clean Girl / “Soap Nails”: Ultra-glossy, translucent sheer pinks, milky whites, and glass-like top coats focused on high-shine cuticle perfection.
Optical Textures & Light Effects
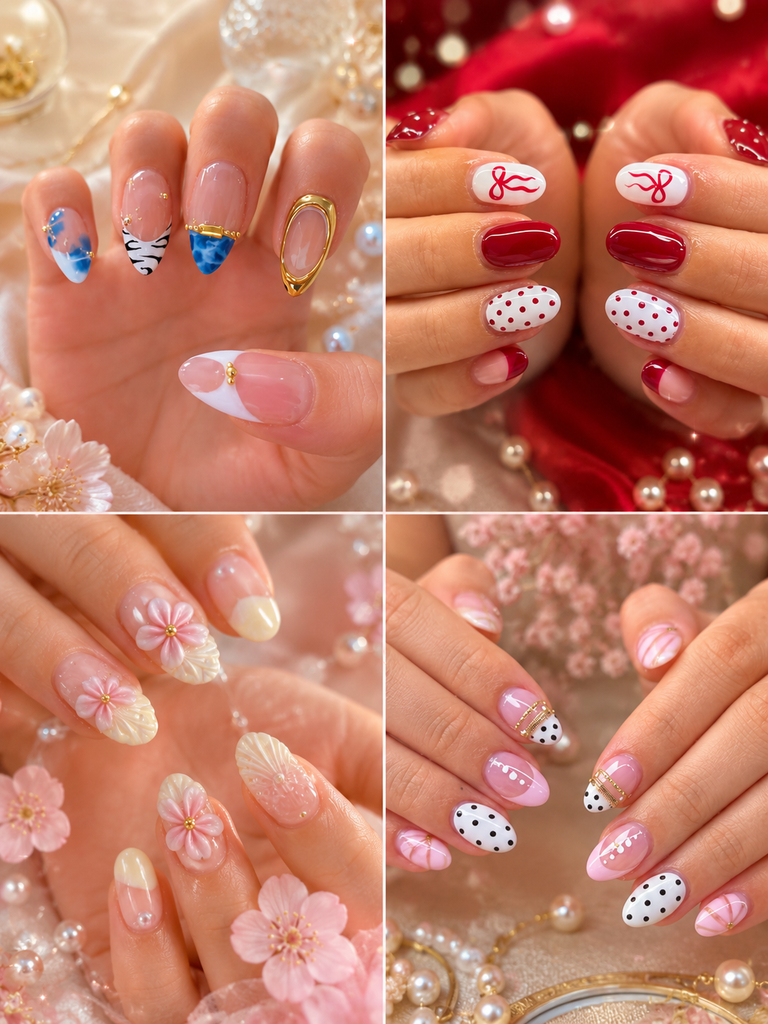
- Chrome & Glazed Finishes: Ultra-fine metallic or pearlescent powders burnished over cured no-wipe gel top coats to create mirror, glazed donut, or iridescent finishes.
- Cat-Eye & Velvet Nails: Gel infused with microscopic magnetic iron particles manipulated with strong magnets before curing to produce deep, light-shifting velvet and dimensional shimmer.
- Aura & Airbrushed: Diffused gradient halos centered on the nail plate, created with handheld mini-airbrushes or blooming gel.
- Marble & Tortoiseshell: Layered semi-translucent jelly colors and alcohol inks cured in stages to build the depth of natural stone, quartz, or classic amber tortoiseshell.
Dimensional, 3D & Avant-Garde
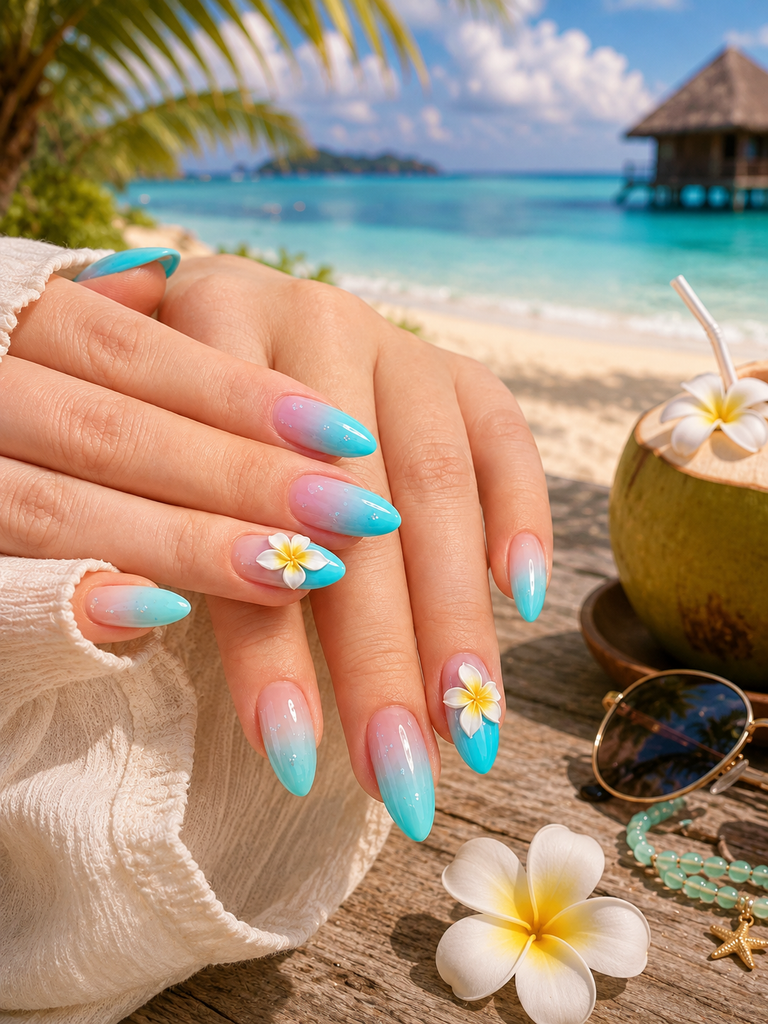
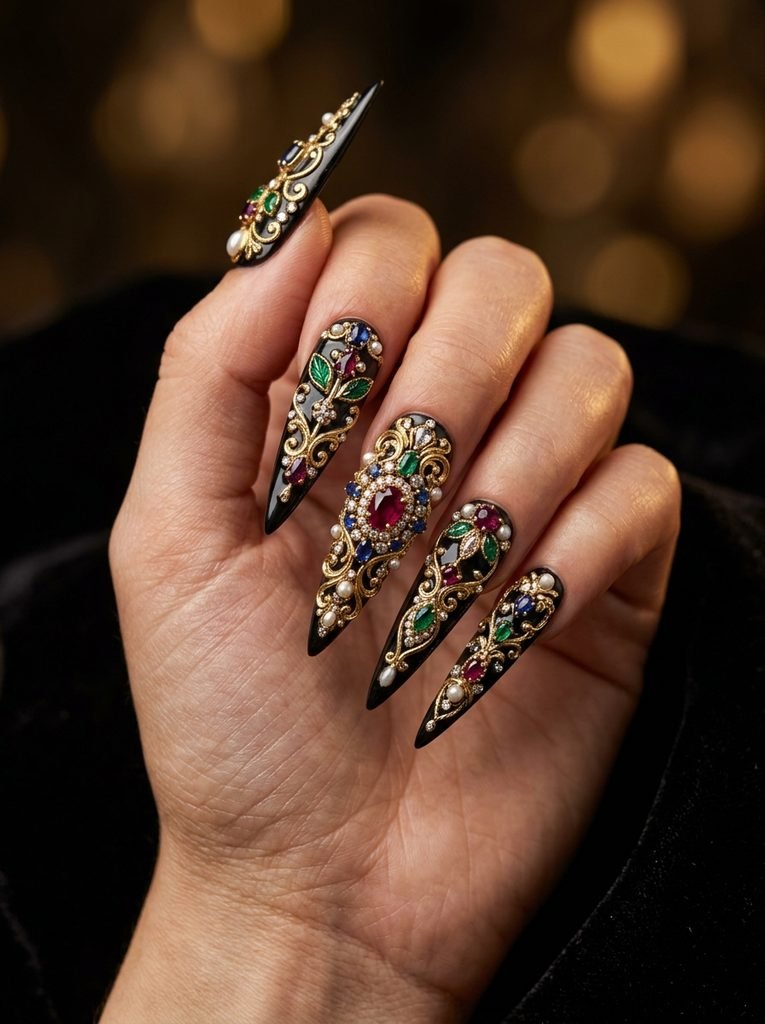
- Korean & Japanese 3D Gel: Clear builder gels and non-sticky sculpting gels shaped into water droplets, ribbon loops, syrup gel puddles, and organic metallic molten ridges.
- Y2K & Cyber Charms: Maximalist designs featuring Swarovski crystals, piercing rings, metallic hardware, cartoon charms, and cyber-sigilism motifs.
- Encapsulation: Chunky glitters, real dried florals, gold leaf, and iridescent mylar flakes embedded beneath clear acrylic or hard gel layers.
2. Nail Enhancement Systems Compared
Choosing the right foundation determines the longevity, strength, and health of your natural nails.
| Enhancement System | Application Method | Best For | Salon Durability | Removal Method |
| Gel Polish | Brush-on, UV/LED cure | Natural nails; light flexibility | 2–3 Weeks | Acetone soak (10–15 min) |
| BIAB (Builder in a Bottle) | Thick viscous soak-off gel | Strengthening weak natural nails | 3–4 Weeks | Soak-off or gentle debulk & rebalance |
| Hard Gel | Non-porous oligomer gel | Sculpting extreme extensions | 4+ Weeks (with infills) | File-off only (Acetone resistant) |
| Gel-X (Soft Gel Tips) | Full-cover pre-shaped soft gel | Instant shape & length | 3–4 Weeks | Acetone soak-off |
| Acrylic (Liquid & Powder) | Monomer + Polymer powder | Maximum hardness and durability | 3–4 Weeks (with infills) | Acetone soak (20–30 min) |
| Dip Powder | Cyanoacrylate resin + powder | Hard, no-UV color layer | 3–4 Weeks | Acetone soak |
3. Nail Shapes & Silhouette Guide
The shape of your nail changes the visual proportions of your fingers and dictates how durable the edges are in daily life.
 [NATURAL & LOW MAINTENANCE]             [ELONGATING & HIGH GLAMOUR]

  Round      Square     Squoval       Almond      Coffin/Ballerina   Stiletto
   ╭─╮        ┌─┐        ╭─┐           ╭─╮             ┌─┐             /\
   │ │        │ │        │ │          /   \           /   \           /  \
   │ │        │ │        │ │         │     │         │     │         │    │
- Round: Follows the natural fingertip curve. Resistant to snags, making it the most practical shape for short, active nails.
- Square: Sharp, 90-degree corners with a flat top. Looks best on long nail beds, though corners can be prone to chipping if natural nails are brittle.
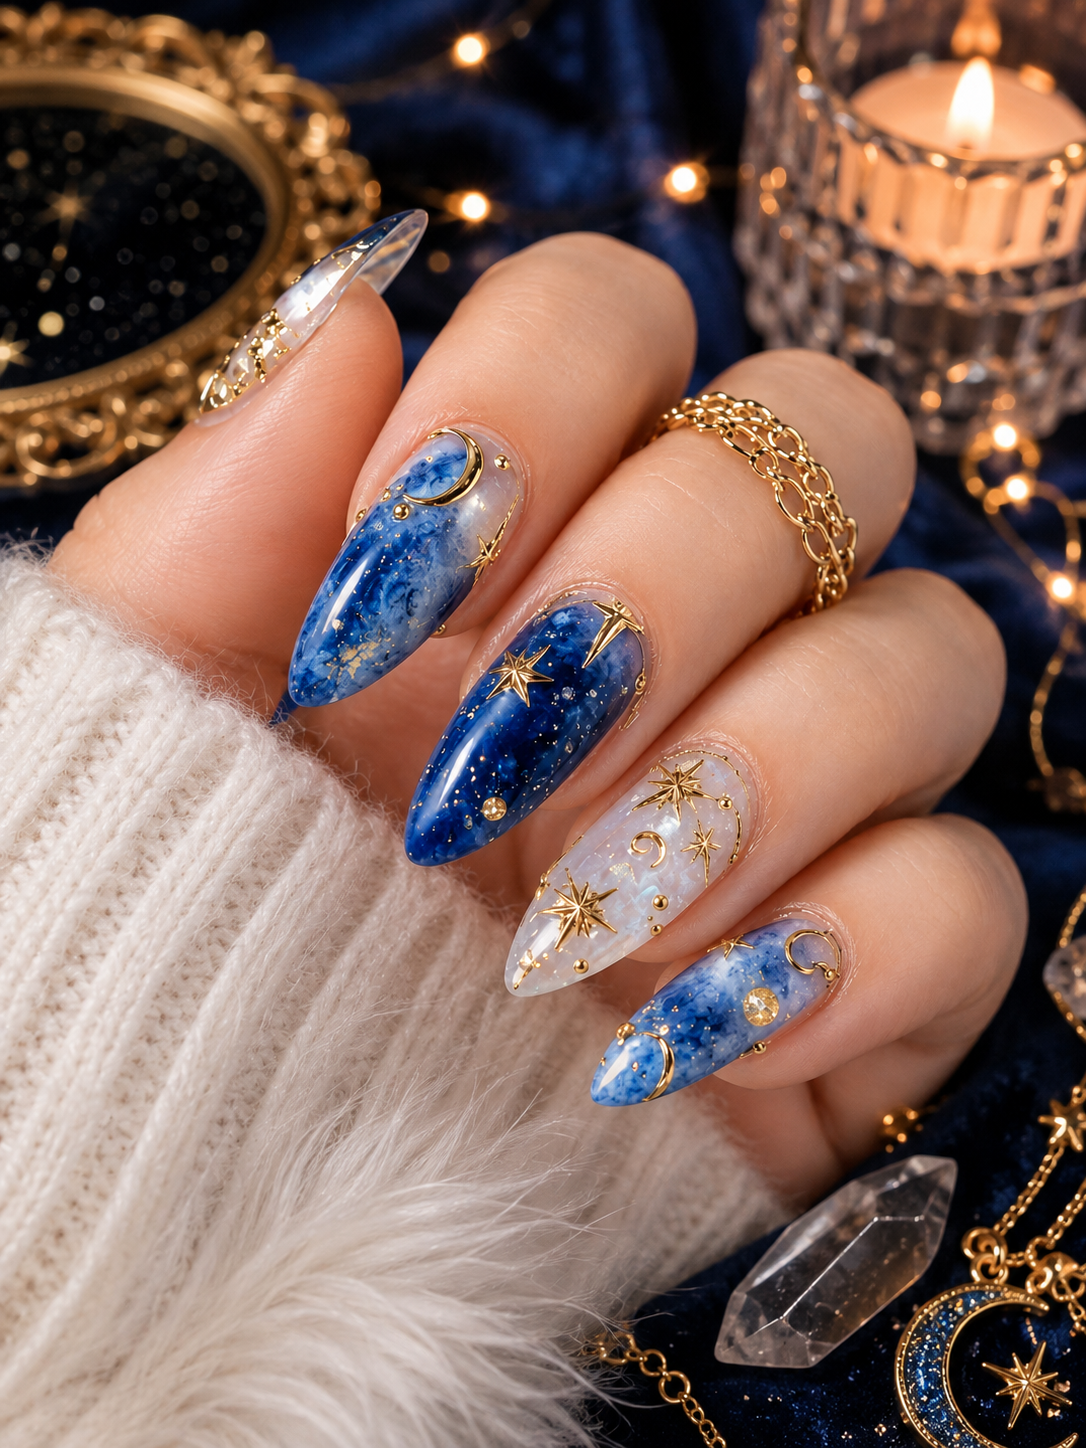
- Squoval: Softened square with rounded corners. The universal middle ground that combines clean lines with structural resistance to corner breaks.
- Almond: Tapered sides ending in a soft, rounded peak. Highly elongating for shorter fingers and standard for medium-to-long builder gel and Gel-X sets.
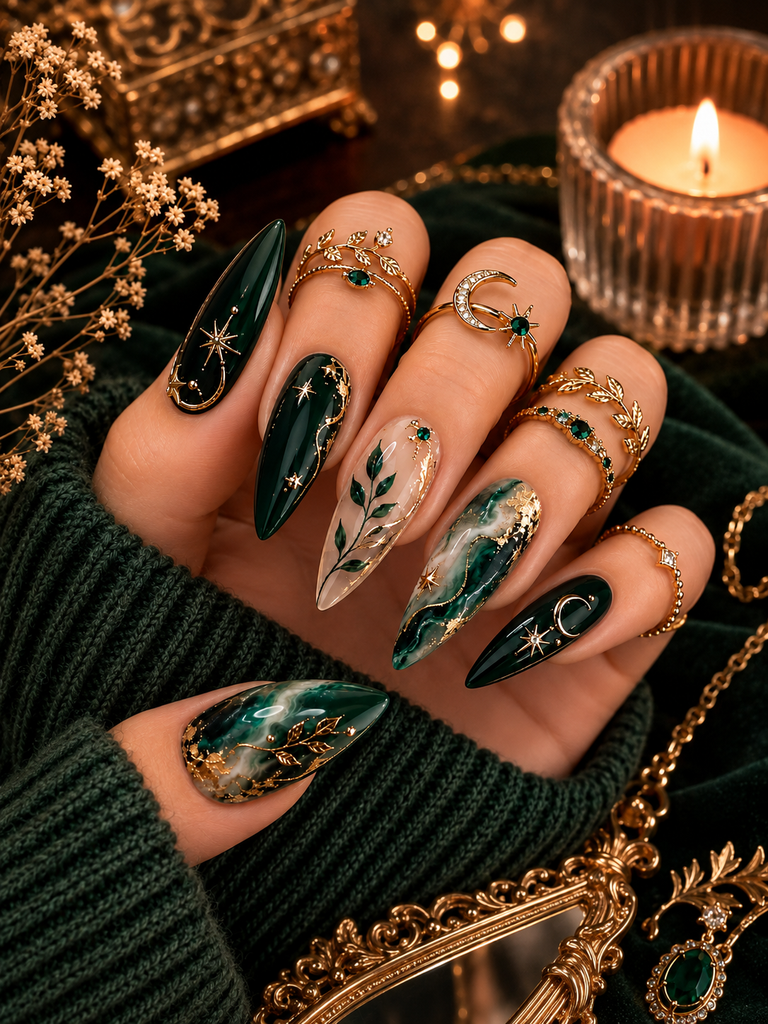
- Coffin / Ballerina: Tapered inward like an almond nail but finished with a sharp, square tip. Requires structured enhancements (acrylic or hard gel) to prevent sidewall snapping.
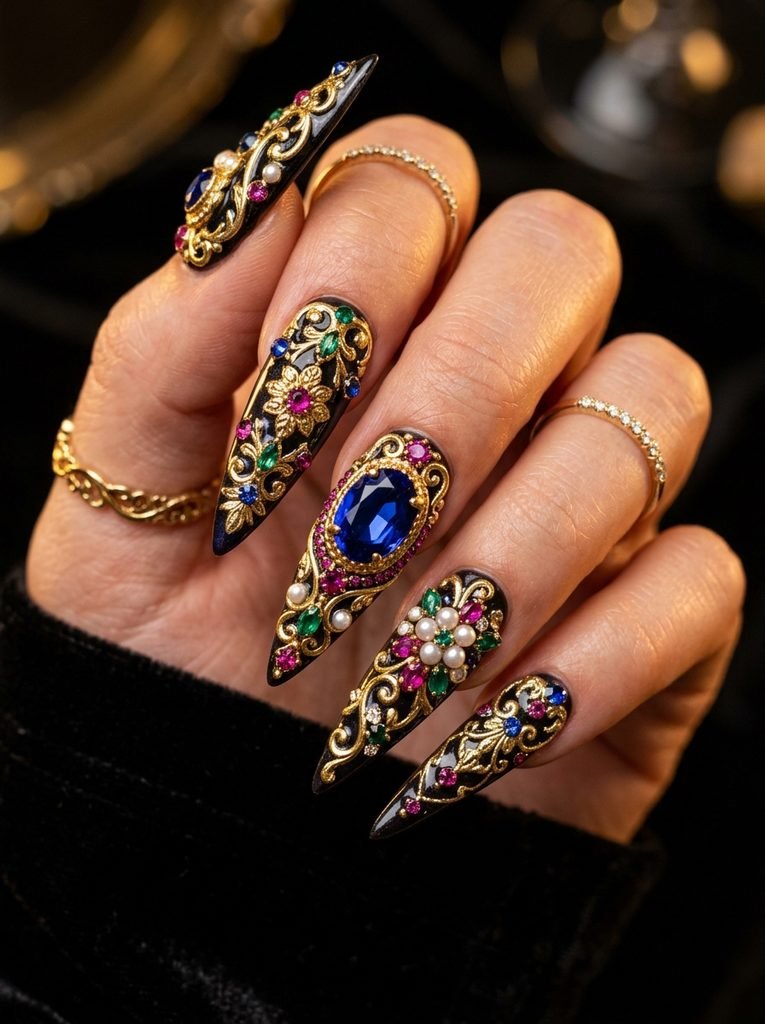
- Stiletto: Aggressively tapered to a sharp, dramatic point. Primarily an extension style designed for maximum surface area and statement nail art.
4. Professional Longevity & Cuticle Maintenance
- Proper Dry Prep: The natural nail plate must be cleansed of natural oils and non-living tissue (pterygium) on the proximal nail fold before applying primer or dehydrator.
- Cap the Free Edge: Applying base, color, and top coat along the front edge prevents moisture from entering and lifting the product.
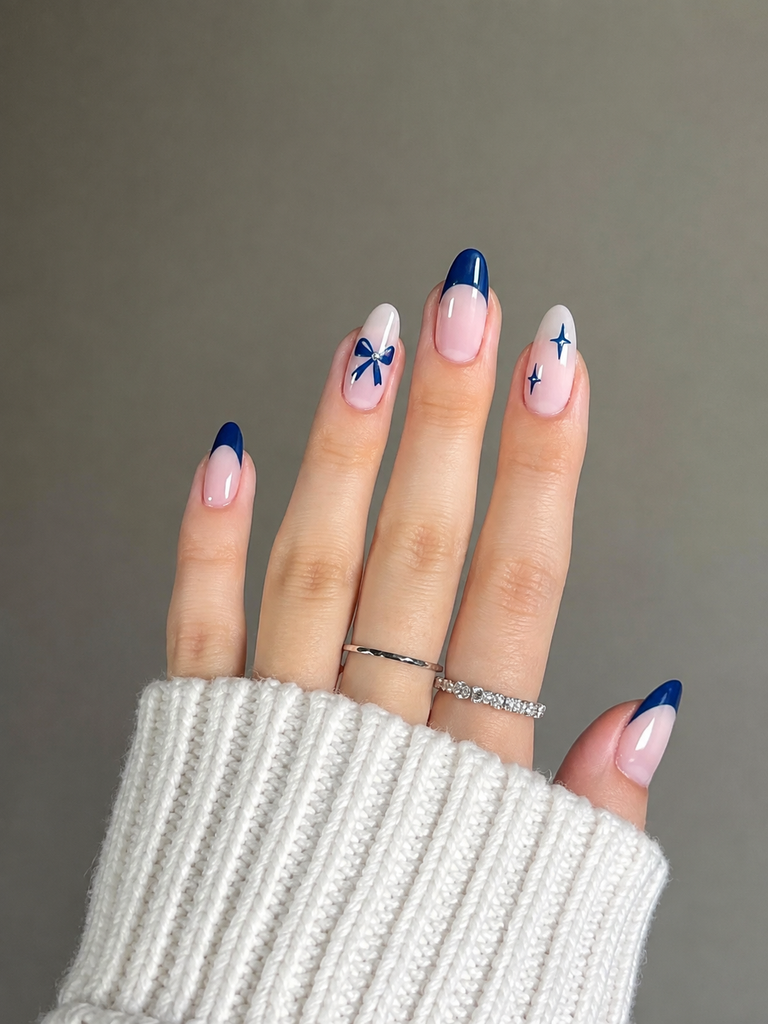
- Daily Cuticle Oil: Apply jojoba-based oils twice daily. Hydrated natural nails flex with enhancements rather than shrinking and pulling away from the product base.
- Never Peel or Rip: Peeling lifted gel removes several layers of keratin from the dorsal nail plate, causing thin, sensitive nail beds. Always soak or file down safely.
Over 90% of premature gel lifting happens because of invisible dead skin left on the nail plate or residual oils under the base coat. Performing a strict dry prep creates the microscopic surface texture needed for strong chemical and mechanical adhesion.
1.Sanitize and Perform a Strict Dry Prep:Avoid water or soaking for at least 1 hour before application.
Wash hands thoroughly with soap, dry completely, and wipe the entire nail area with 70%+ Isopropyl Alcohol. Never soak your nails in water before a gel manicure; water swells the keratin layers of the nail plate, and as they contract later under the cured gel, the product will pop off.
2.Gently Push Back Cuticles and Clear Dead Pterygium:
Using a stainless steel cuticle pusher held at a flat, 45-degree angle, gently push back the eponychium (the living skin fold). Use the scraper end to gently lift and remove the invisible, stubborn layer of dead skin (pterygium) stuck directly to the nail bed. Gel will not bond to skin and will lift within 48 hours if applied over it.
3.Nip Only Non-Living Hangnails:
Carefully trim away only the translucent, dead, lifted skin tags or loose hangnails using sharp cuticle nippers. Never cut the living proximal nail fold itself, as this causes swelling, bleeding, and uneven healing.
4.Shape Free Edges and Remove Surface Shine:
File the free edge into your desired shape using a 180/240-grit nail file, filing in a single direction to prevent microscopic fraying. Then, using a fine 180-to-240-grit buffer, gently etch the entire surface of the nail plate in the direction of nail growth to remove the surface gloss. Focus closely around the cuticle and sidewalls without over-filing the nail bed.
5.Dehydrate and Apply Acid-Free Primer:
Dust away all debris using a clean, dry brush. Thoroughly wipe each nail plate using a lint-free wipe saturated with 90%+ Isopropyl Alcohol or pure acetone to remove surface moisture and sebum. Apply an acid-free gel primer/bonder to the entire nail plate (avoiding skin) and allow it to air-dry for 30–60 seconds until slightly tacky.
6.Apply and Cure a Thin Base Coat:Leave a 1 mm hairline gap from all skin edges.
Apply a very thin, even layer of gel base coat. Leave a 1 mm gap between the product and your cuticle/lateral sidewalls, and cap the free edge (the front tip). If any wet product touches the skin, clean it off immediately with a small brush dipped in alcohol before curing under your UV/LED lamp for the manufacturer’s recommended time (typically 30–60 seconds).
Key Pro-Tips to Prevent Premature Lifting
- Mind the Free Edge: Always cap the exposed tip with base coat, color layers, and top coat to seal the keratin layers from water penetration.
- Apply Multiple Thin Layers: Applying thick coats prevents the UV/LED light from curing the bottom layers of gel, leading to rubbery under-cured product that wrinkles and lifts.
- Keep Cuticles Conditioned Post-Cure: Once the final top coat is cured and wiped clean, massage a jojoba-based cuticle oil into the skin daily to keep the natural nail flexible.
Peel-off base coats are safe for gel nails, provided they are formulated specifically for gel/nail use and removed correctly with oil or warm soapy water rather than ripped off dry.
They work by forming a flexible, low-tack polymeric film between the natural nail keratin and the gel overlay, allowing the entire manicure to release without acetone soaking.
Key Differences: Peel-Off vs. Standard Soak-Off Base
| Feature | Peel-Off Base Coat | Standard Soak-Off Base Coat |
| Typical Wear Time | 3 to 7 days (up to 10 with edge-capping) | 2 to 4 weeks |
| Primary Bond Type | Physical adhesive film (low surface energy) | Chemical covalent bond to etched keratin |
| Nail Prep Required | Minimal; no heavy buffing or acid primers | Strict; surface de-shining, dehydrator & primer |
| Removal Method | Warm water, cuticle oil & orange stick | 15–20 min pure acetone soak |
| Acetone Exposure | None | High (can cause temporary dehydration) |
| Accidental Popping | Higher risk with hot showers or heavy hand use | Very low if properly prepped |
| Best For | Frequent color changers, nail art swatching, weak nails | Long-term wear, high-durability sets, extensions |
How to Use a Peel-Off Gel Base Safely
- Never Rip Them Off Dry: Forcefully tearing off a dry peel-off base can still pull up loose keratin cells. Always apply cuticle oil or warm soapy water around the perimeter and gently lift from the side edge using a wooden orange stick.
- The “Floating Island” Method for Longer Wear: To get the easy removal of peel-off base with the longevity of a standard manicure:
- Apply the peel-off base coat only in the center 80% of the nail plate, leaving a 1–2 mm bare border around the cuticles and sidewalls.
- Apply standard soak-off base over the entire nail (including the borders and free edge).
- During removal, you only need to lightly break the outer perimeter seal with a file, and the entire center pops off smoothly with oil.