Tattooing is no longer just about picking an image off a flash wall; it is a permanent integration of art, body geometry, and dermatology. A great tattoo is a collaboration between the wearer’s anatomy, the artist’s technical execution, and strict aftercare biology.
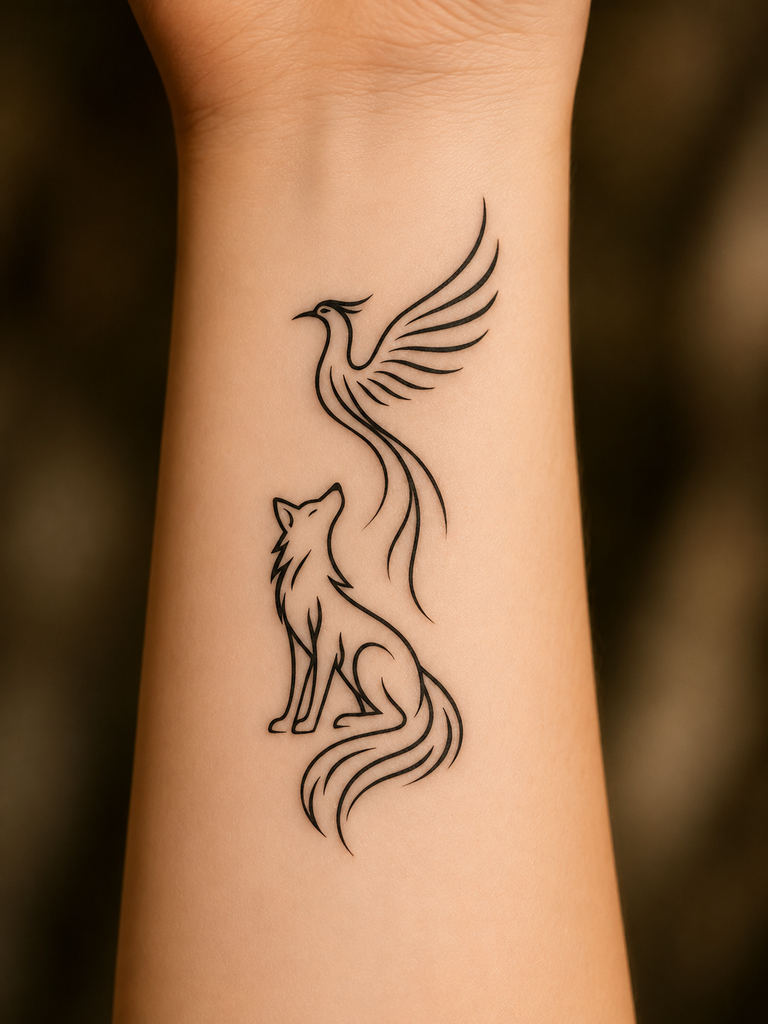
Whether you are mapping out your first piece or curating a cohesive body suit, understanding the mechanics of placement, design longevity, and ink healing will ensure your piece looks as striking in ten years as it does on day one.
1. Defining Your Aesthetic: The Modern Styles
Choosing a style isn’t just about visual preference—it dictates how the piece interacts with skin aging and sun exposure over decades.
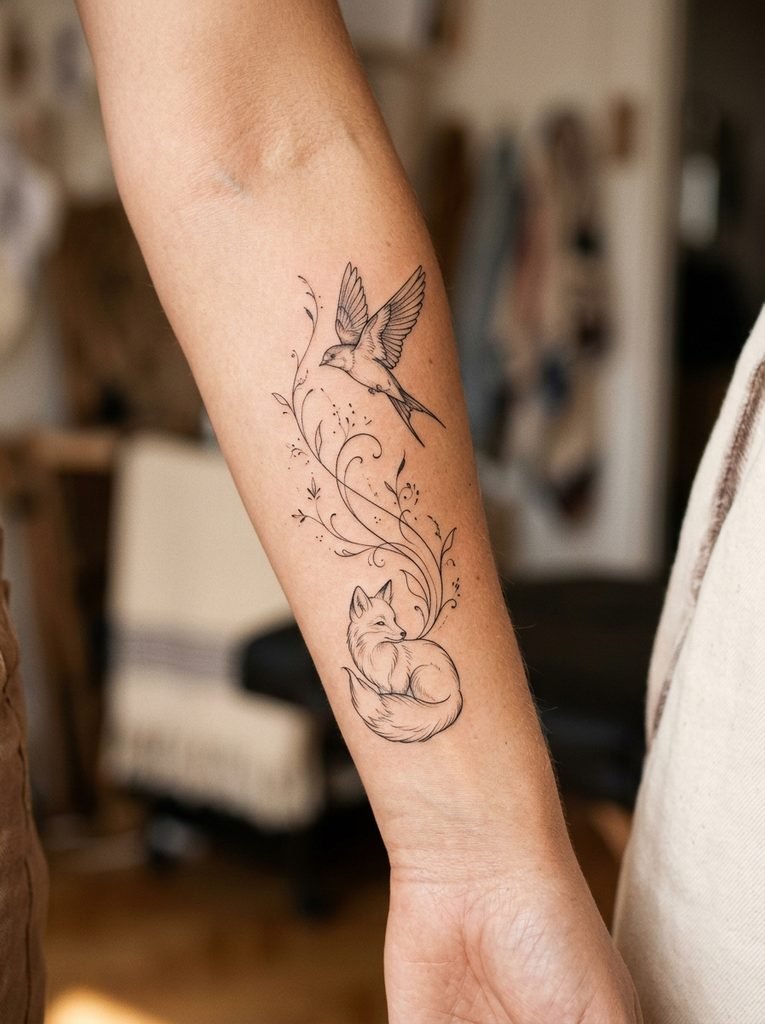
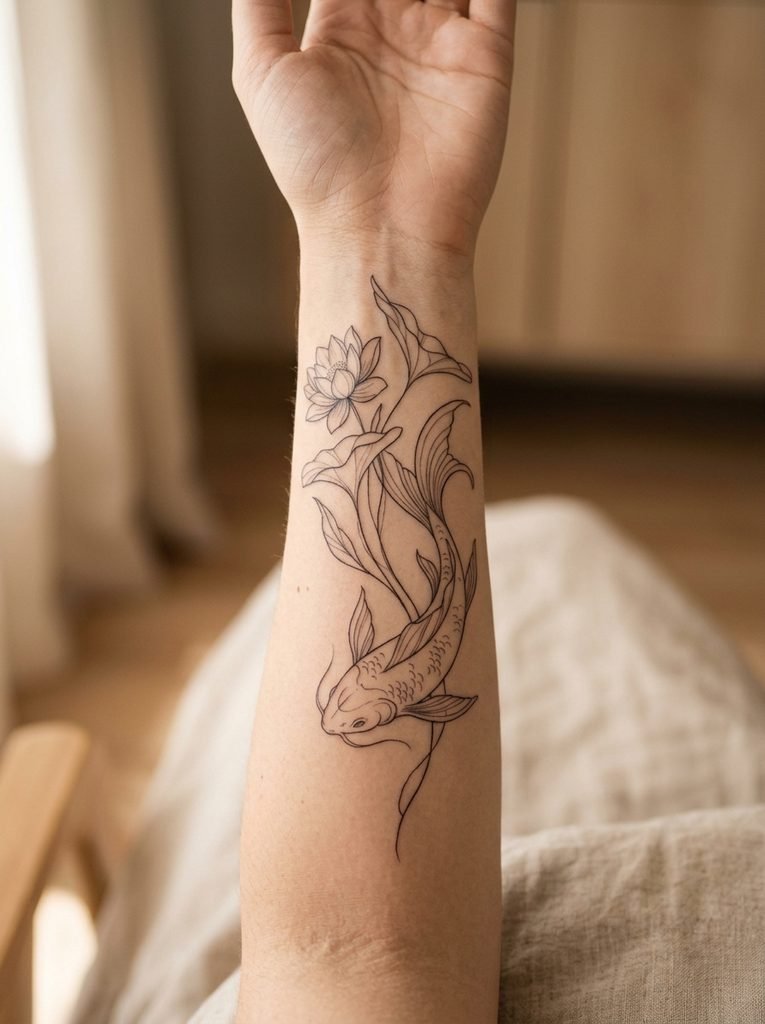
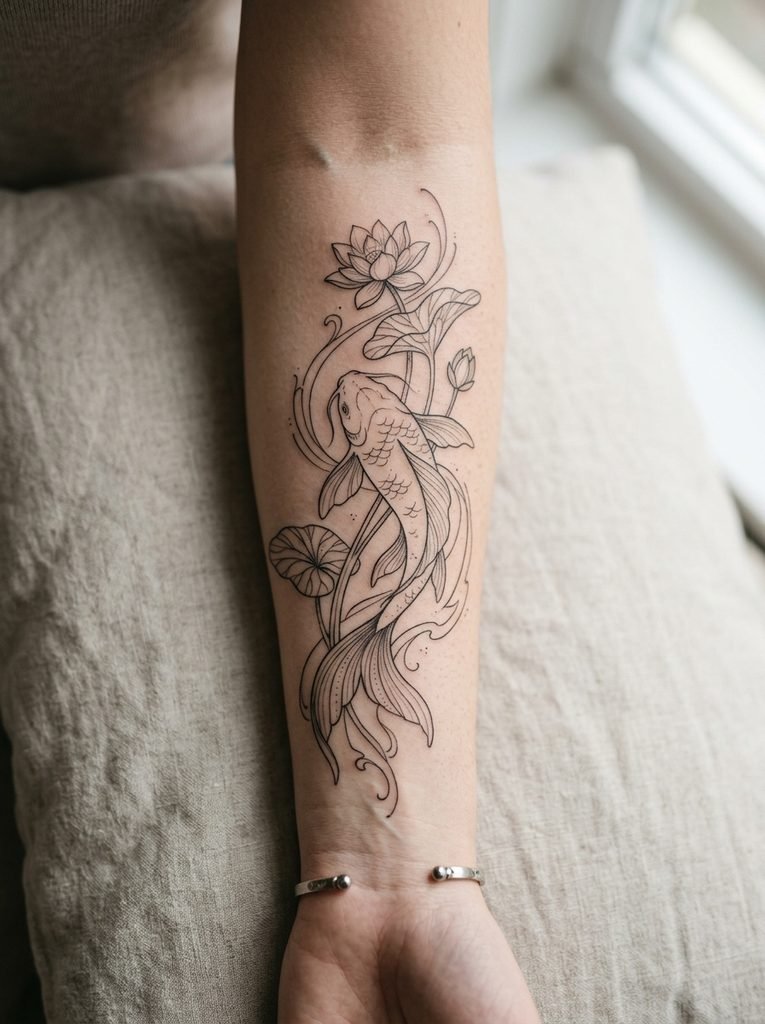
- Fine-Line & Micro-Realism: Utilizes single-needle or ultra-tight groupings to create delicate botanical illustrations, micro-portraits, and precise architectural sketches. They offer an understated, fine-jewelry aesthetic but require meticulous sun care and intentional spacing to prevent lines from blurring together over time.
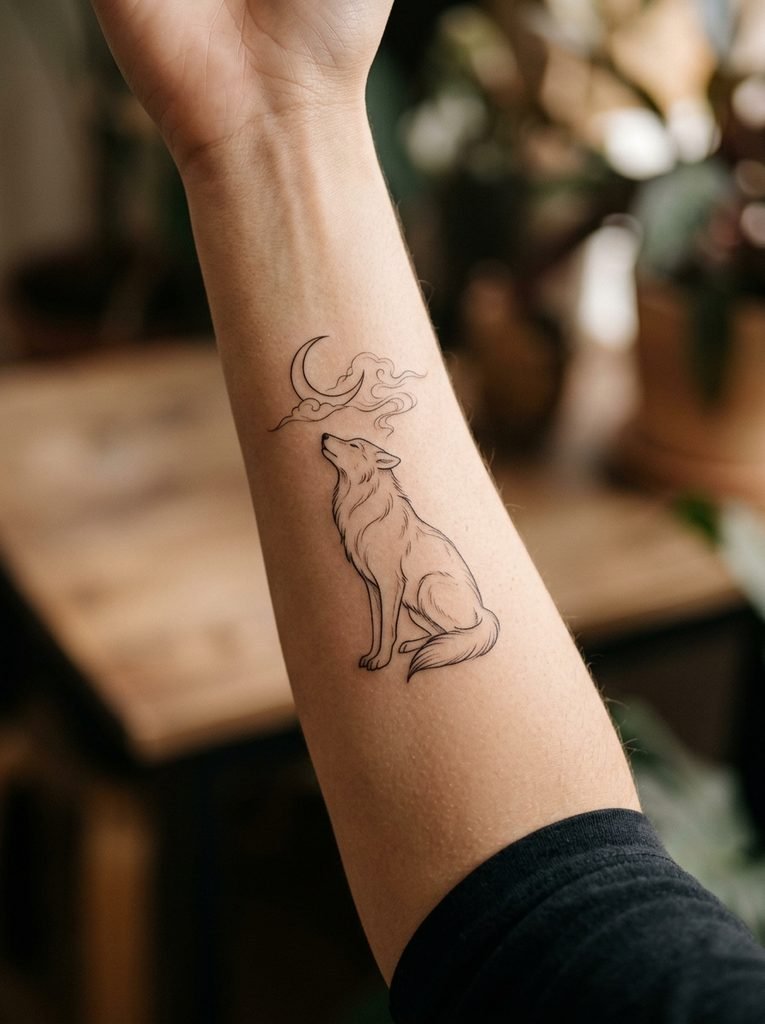
- Cybersigilism & Abstract Linework: Inspired by digital culture, cybernetic forms, and organic flow lines. This movement uses sharp, dynamic strokes and asymmetric layouts designed specifically to accentuate muscle curves and joint transitions.
- Bold Blackwork & Heavy Contrast: Relies entirely on saturated black ink, dense negative space, and textured dotwork (stippling). These designs provide the highest contrast against natural skin and have the greatest structural longevity over decades.
- Cohesive Patchwork: A curated collection of independent, sticker-style designs spaced intentionally across a limb rather than a blended, solid-fill sleeve. It allows you to collect individual pieces from various artists over time while maintaining visual harmony.
2. Anatomical Flow and Placement Strategy
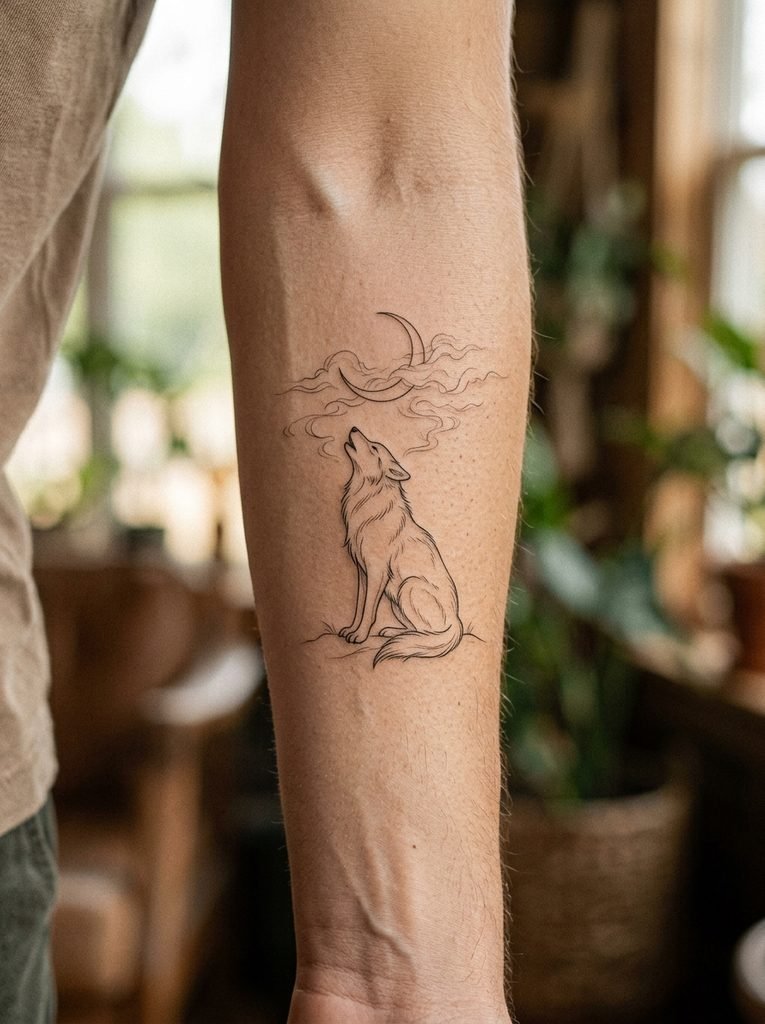
A tattoo should work with the body’s natural contours, not fight them. When a joint moves, the artwork will twist and compress.
| Body Zone | Movement & Elasticity | Pain Scale | Aging Profile |
| Forearm & Bicep | Low distortion; stable skin | Mild to Moderate | High: Sharp lines, minimal spreading, easy to maintain. |
| Ribs & Sternum | High expansion during breathing | High to Severe | High: Low friction and sun exposure keep pigment dark. |
| Upper Thigh & Calf | Moderate elasticity | Mild to Moderate | High: Generous canvas area with consistent skin thickness. |
| Fingers & Hands | Extreme friction and skin cell turnover | Moderate | Low: Ink fades rapidly; frequent touch-ups required. |
| Shoulder Blade & Spine | High stretching across joint axes | Moderate to High | Moderate to High: Stable, but requires dynamic stenciling. |
3. The Science of the Needle: How Ink Settles
Understanding how skin accepts ink demystifies both the tattooing process and the healing timeline:
- The Target Layer (The Dermis): The epidermis (outer layer) sheds completely every 28 to 40 days. For ink to be permanent, the needle must pass through the epidermis and deposit pigment directly into the dermis—roughly 1 to 2 mm below the surface.
- Immune Response: When ink enters the dermis, your body’s immune system sends macrophages (white blood cells) to engulf the pigment particles. Because the pigment granules are too large for the cells to digest, the macrophages become trapped in place, locking the color into the structural matrix of your skin.
- The “Blowout” Risk: If an artist applies too much pressure or inserts needles at the incorrect angle, ink can penetrate into the subcutaneous fat layer below the dermis. There, the pigment diffuses uncontrollably, creating a hazy, blueish halo around the lines. Choosing an artist with proven technical control prevents this structural error.
4. Modern Healing Protocols: Breathable Science
Tattoo aftercare has shifted away from suffocating petroleum jellies toward breathable, barrier-repair formulas that support active tissue regeneration.
The Medical Adhesive Phase (Days 1–4)
If your artist applies a semi-permeable film (such as SecondSkin or Saniderm), keep it on for 3 to 5 days.
- The “Ink Sack”: It is normal for plasma, blood, and excess ink to pool underneath the film. This natural fluid contains white blood cells and enzymes that accelerate tissue repair.
- Removal: Never rip the bandage off dry. Peel it slowly under warm, running water by pulling downward in the direction of hair growth.
The Gentle Cleanse & Moisture Phase (Days 5–14)
- Wash Twice Daily: Clean the tattoo using lukewarm water and a fragrance-free, gentle liquid cleanser. Use your bare hands only—sponges, loofahs, and washcloths harbor bacteria and cause micro-abrasions.
- Pat Dry: Air-dry or gently pat with a single-use paper towel. Standard bath towels hold laundry detergents and lint that irritate open skin.
- Apply Light Hydration: Use a breathable, vegan lotion or aftercare cream containing soothing ingredients like panthenol (Provitamin B5) or bisabolol. Apply sparingly: the skin should look matte, never shiny or wet. Over-moisturizing traps bacteria, clogging pores and causing pigment bubbling.
5. Lifelong Ink Preservation
Once the epidermis fully heals (around week 3 to 4), ink maintenance shifts from wound healing to UV defense.
- Sunscreen as Daily Armor: UV rays break down pigment molecules into smaller fragments that your lymphatic system slowly carries away, causing fading and line spreading. Apply a broad-spectrum SPF 50 mineral or chemical sunscreen over your tattoos whenever they are exposed to sunlight.
- Skin Hydration: Dead, dry surface cells scatter light, making black ink look gray and muted. Regular exfoliation (once fully healed) paired with daily jojoba- or shea-based moisturizers keeps the skin layer above the dermis clear and glass-like, allowing the rich pigment underneath to shine through clearly.